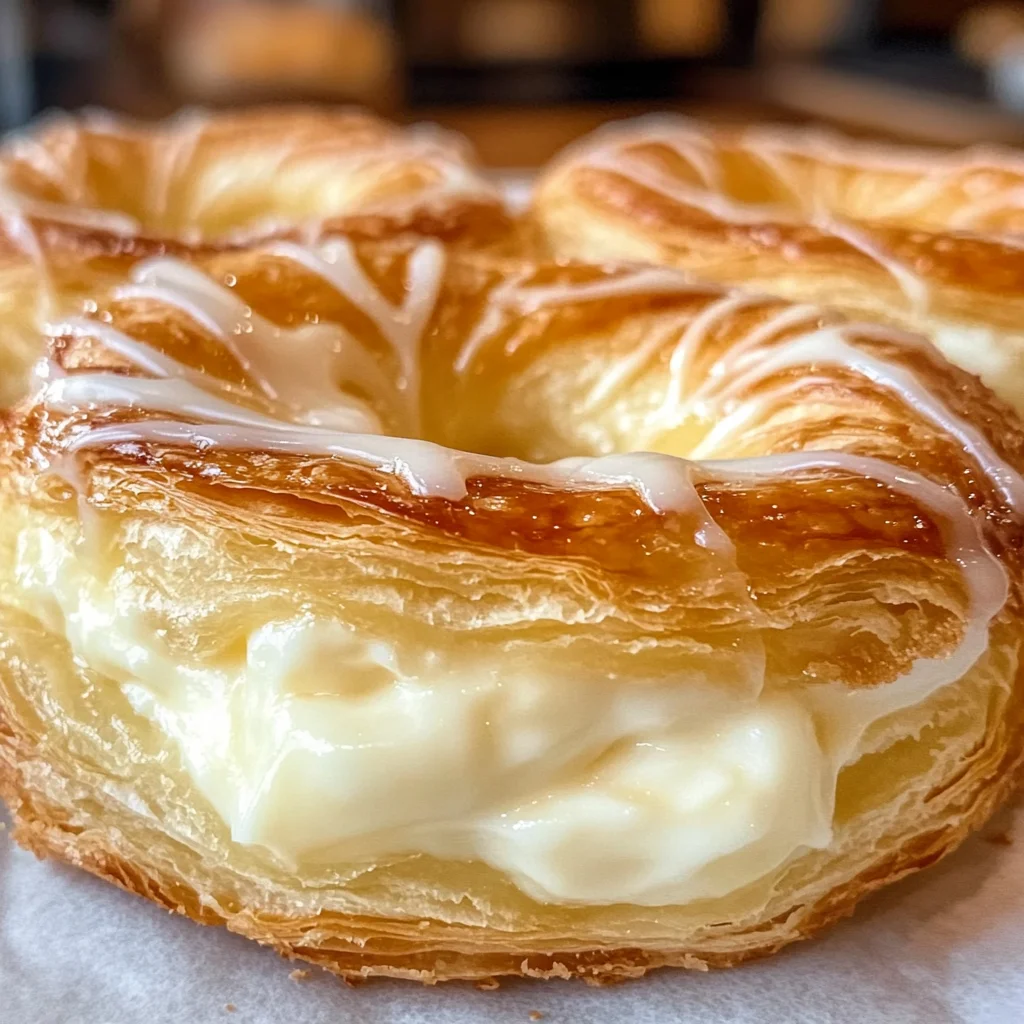
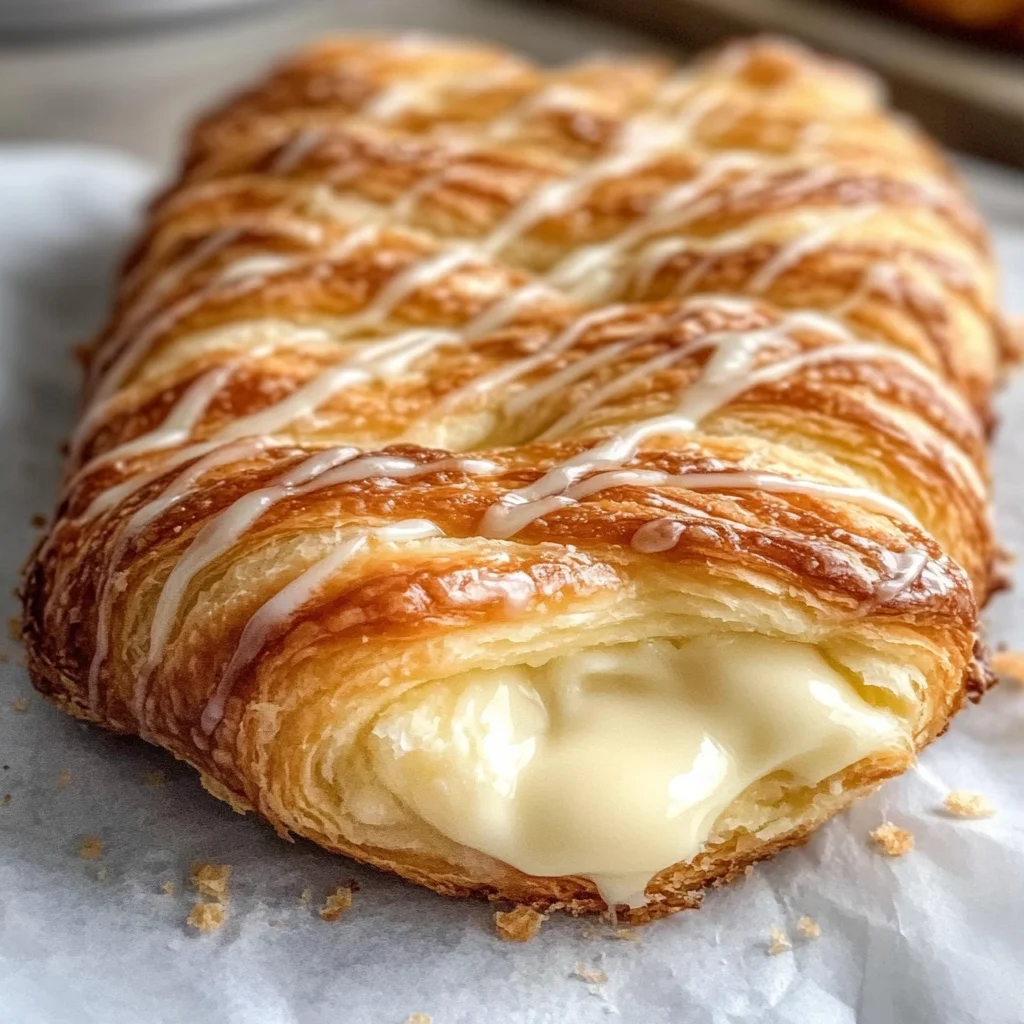
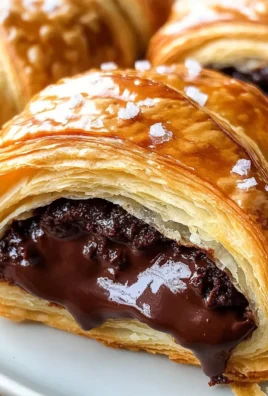
Experience melt-in-your-mouth cheese danishes with a flaky exterior and creamy filling, perfect for breakfast or brunch. Our Deliciously Flaky Cheese Danish is not just a treat; it’s an experience that can elevate any meal. With its buttery layers and delightful filling, it’s perfect for gatherings, holiday brunches, or simply indulging yourself. You’ll find that these danishes are easy enough to make at home yet impressive enough to impress your guests.
Why You’ll Love This Recipe
- Easy to Make: The steps are straightforward, making this recipe accessible even for beginners.
- Versatile Filling Options: Mix and match with fruit preserves or fresh berries for a unique twist.
- Perfect for Any Occasion: Whether it’s breakfast, brunch, or dessert, these danishes fit right in.
- Impressive Presentation: The flaky layers and beautiful shape make them visually stunning.
- Melt-in-Your-Mouth Texture: Enjoy the contrast of the crispy pastry and creamy filling in every bite.
Tools and Preparation
Before diving into making your Deliciously Flaky Cheese Danish, gather the necessary tools. Having everything ready will streamline the process and enhance your baking experience.
Essential Tools and Equipment
- Mixing bowls
- Rolling pin
- Parchment paper
- Baking sheets
- Whisk
Importance of Each Tool
- Mixing Bowls: Essential for combining ingredients evenly without creating a mess.
- Rolling Pin: Necessary for achieving the perfect thickness in dough for that flaky texture.
- Parchment Paper: Prevents sticking and ensures easy transfer of the danishes to the baking sheet.
Ingredients
Experience melt-in-your-mouth cheese danishes with a flaky exterior and creamy filling, perfect for breakfast or brunch.
Ingredients:
– 4 cups (500g) all-purpose flour
– 1/3 cup (75g) granulated sugar
– 1 tsp salt
– 1 tbsp (10g) active dry yeast
– 1 cup (240ml) whole milk, warm
– 1 large egg, room temperature
– 1 cup + 2 tbsp (250g) cold unsalted butter, for laminating
– 7 oz (200g) cream cheese, softened
– 1/4 cup (50g) granulated sugar
– 1 tsp vanilla extract
– Zest of 1 lemon (optional)
– 1 cup (100g) powdered sugar
– 1–2 tbsp milk or lemon juice
– 1/2 tsp vanilla extract
– Optional: Fruit preserves, fresh berries, or sliced almonds for topping
How to Make Deliciously Flaky Cheese Danish
Step 1: Prepare the Dough
In a large mixing bowl, combine flour, sugar, and salt. In a separate bowl, mix warm milk and active dry yeast; let sit for 5–10 minutes until foamy.
Step 2: Combine Ingredients
Add the egg and yeast mixture to the dry ingredients. Mix until the dough comes together. Knead for about 6–8 minutes until smooth. Cover the bowl and chill in the refrigerator for 30 minutes.
Step 3: Prepare the Butter Layer
Lay cold butter between two sheets of parchment paper. Using a rolling pin, pound and shape the butter into an 8-inch square. Chill until firm yet pliable.
Step 4: Laminate the Dough
Roll the chilled dough into a 16-inch square. Position the butter block in the center and fold the corners over to seal it. Roll into a long rectangle measuring approximately 8×24 inches. Fold into thirds like a letter and chill for another 30 minutes; repeat rolling and folding two more times.
Step 5: Shape Your Danishes
Roll the final dough to a thickness of about 1/4 inch and cut it into squares measuring about 4 inches each. Place a tablespoon of cream cheese filling in the center of each square. Fold over corners or shape as preferred; optionally top with berries or jam.
Step 6: Rise Before Baking
Transfer shaped danishes to parchment-lined baking sheets. Allow them to rise for about an hour. Preheat your oven to 390°F (200°C). Brush with egg wash or milk before baking them for about 15–20 minutes until golden brown.
Step 7: Finish with Glaze
Let cool completely before whisking powdered sugar with milk or lemon juice. Drizzle glaze over danishes just before serving.
Enjoy your homemade Deliciously Flaky Cheese Danish, whether you’re treating yourself or sharing with friends!
How to Serve Deliciously Flaky Cheese Danish
Cheese danishes are versatile pastries that can be enjoyed in various ways. Whether you’re hosting a brunch or simply indulging in a cozy breakfast at home, here are some delightful serving suggestions to elevate your experience.
Pair with Fresh Fruits
- Fresh berries: Serve with strawberries, blueberries, or raspberries for a burst of flavor and color.
- Sliced apples: Thin apple slices add a refreshing crunch that complements the creamy filling.
Add a Sweet Drizzle
- Honey: A light drizzle of honey enhances sweetness and adds a lovely gloss.
- Maple syrup: Pour over warm danishes for an extra layer of flavor.
Complement with Beverages
- Coffee: The rich taste of coffee pairs beautifully with the flaky pastry.
- Herbal tea: A calming herbal tea can balance the sweetness and provide a soothing experience.
Enhance with Toppings
- Whipped cream: A dollop of whipped cream creates a luxurious touch on top.
- Nuts: Chopped almonds or walnuts sprinkled over the top add texture and nutty flavor.
How to Perfect Deliciously Flaky Cheese Danish
Achieving the ideal cheese danish is all about technique and timing. Follow these tips for perfect results every time.
- Use cold butter: Ensure your butter is cold when laminating to achieve maximum flakiness.
- Knead properly: Knead your dough until smooth but avoid overworking it, which can lead to tough pastries.
- Chill between folds: Chilling the dough after each fold helps maintain the butter’s structure and promotes flakiness.
- Watch baking time: Keep a close eye while baking; remove from the oven once golden brown for best texture.
- Cool before glazing: Allow danishes to cool completely before adding glaze for an even application.
Best Side Dishes for Deliciously Flaky Cheese Danish
Pairing side dishes with your cheese danish can create a well-rounded meal. Here are some fantastic options to consider:
- Fruit Salad: A mix of seasonal fruits provides freshness and balances the richness of the danish.
- Yogurt Parfait: Layer yogurt with granola and fruits for a creamy, crunchy side that complements the pastry well.
- Scrambled Eggs: Light, fluffy scrambled eggs add protein and enhance your brunch spread.
- Green Salad: A simple green salad dressed lightly can bring brightness to your plate without overpowering flavors.
- Smoothie Bowl: Blend your favorite fruits into a smoothie bowl topped with nuts and seeds for added texture.
- Oven-Roasted Potatoes: Crispy roasted potatoes offer heartiness that pairs nicely with sweet pastries.
Common Mistakes to Avoid
Making the perfect Deliciously Flaky Cheese Danish can be tricky. Here are some common mistakes to watch out for:
- Incorrect Dough Temperature: Using warm butter or dough can lead to a greasy pastry. Always keep your butter cold and work in a cool environment.
- Skipping the Chilling Steps: Not chilling the dough enough can result in a dense danish. Follow the chilling times closely to ensure optimal flakiness.
- Overfilling with Cream Cheese: Adding too much filling makes the danishes hard to shape and can cause them to burst while baking. Stick to the recommended amount for best results.
- Not Preheating the Oven: Baking in an unheated oven can ruin the texture of your danishes. Always preheat your oven to ensure they rise and brown properly.
- Ignoring Glaze Timing: Applying glaze while the danishes are still warm can make it runny. Allow them to cool completely before drizzling for a beautiful finish.
Storage & Reheating Instructions
Refrigerator Storage
- Store in an airtight container for up to 3 days.
- Place a paper towel inside the container to absorb moisture.
Freezing Deliciously Flaky Cheese Danish
- Wrap each danish tightly in plastic wrap and place them in a freezer-safe bag.
- They will last up to 2 months in the freezer.
Reheating Deliciously Flaky Cheese Danish
- Oven: Preheat oven to 350°F (175°C) and bake for about 10 minutes for crispy results.
- Microwave: Heat on medium power for 15-20 seconds, but this may soften the pastry.
- Stovetop: Place on a skillet over low heat, flipping occasionally until warmed through.
Frequently Asked Questions
Here are some commonly asked questions about making Deliciously Flaky Cheese Danish:
Can I use different types of cheese?
Yes! You can experiment with ricotta or mascarpone cheese for a different flavor profile.
How do I make my Cheese Danish extra flaky?
Ensure your butter is very cold and follow all chilling steps carefully. The lamination process is key for flakiness.
Can I make these ahead of time?
Absolutely! You can prepare the dough and fillings a day in advance. Just assemble and bake when ready.
What should I serve with Deliciously Flaky Cheese Danish?
These pastries pair well with fresh fruit, coffee, or tea for a delightful breakfast or brunch experience.
Final Thoughts
The Deliciously Flaky Cheese Danish is not only a treat but also incredibly versatile. You can customize it with various fillings like fruits or nuts, making it suitable for any occasion. Try this recipe today and enjoy its delightful flavors!

Deliciously Flaky Cheese Danish
- Total Time: 1 hour 20 minutes
- Yield: Approximately 12 servings 1x
Description
Indulge in the delightful experience of our Deliciously Flaky Cheese Danish, where a buttery, flaky pastry meets a rich and creamy filling. Perfect for breakfast or brunch, these homemade pastries are not only easy to prepare but also visually stunning, making them an impressive addition to any gathering. With options to customize your filling with fresh berries or fruit preserves, this recipe invites creativity while ensuring a melt-in-your-mouth treat in every bite.
Ingredients
- 4 cups all-purpose flour
- 1/3 cup granulated sugar
- 1 tsp salt
- 1 tbsp active dry yeast
- 1 cup warm whole milk
- 1 large egg
- 1 cup + 2 tbsp cold unsalted butter
- 7 oz cream cheese
- 1/4 cup granulated sugar for filling
- 1 tsp vanilla extract
- Optional: fruit preserves or fresh berries
Instructions
- In a large bowl, combine flour, sugar, and salt. In a separate bowl, mix warm milk with yeast and let sit until foamy.
- Add the egg and yeast mixture to the dry ingredients; mix until combined. Knead for about 6–8 minutes until smooth. Cover and chill for 30 minutes.
- Prepare an 8-inch square of cold butter between parchment paper; chill until firm.
- Roll chilled dough into a square, place butter in the center, fold corners over, then roll into a long rectangle. Fold into thirds and chill again; repeat this rolling and folding process two more times.
- Roll final dough to about 1/4 inch thick; cut into squares and fill with cream cheese mixture. Shape danishes as desired.
- Place on parchment-lined baking sheets and let rise for one hour. Preheat oven to 390°F (200°C) and bake for 15–20 minutes until golden brown.
- Cool completely before drizzling with glaze made from powdered sugar mixed with milk or lemon juice.
- Prep Time: 60 minutes
- Cook Time: 20 minutes
- Category: Breakfast/Dessert
- Method: Baking
- Cuisine: Pastry
Nutrition
- Serving Size: 1 danish (75g)
- Calories: 260
- Sugar: 12g
- Sodium: 150mg
- Fat: 16g
- Saturated Fat: 10g
- Unsaturated Fat: 5g
- Trans Fat: 0g
- Carbohydrates: 25g
- Fiber: 1g
- Protein: 4g
- Cholesterol: 45mg
Leave a Comment